Craig Dugas
There is a massive underused space above the heads of many people, and you don’t have to spend a fortune to utilise it. People often think that the only way they can make use of the attic is by throwing things up there through the hatch or undertaking an expensive loft conversion. How wrong they are; it is easy to board out the attic and use it for storage space. Because you are not converting it into a habitable room, there are no building regulations that you must follow. It is an ideal project for a DIY fan that will take a couple of weekends to complete. The space up there will help you to keep the house below clean, tidy, and clutter free.
It sounds too good to be true, doesn’t it? Here is how to board out your attic to make an amazing storage space.
Cables
If the house is newish, the cables should all run through holes drilled in the ceiling joists, but in an older home that has undergone a rewire, they often lie on top. Ideally, you will be able to disconnect the offending wires, drill holes in the joists, and route the cables through them. Many people don’t like messing with electricity, and rightly so. Slot the timber instead and lie the cables in there so they will not suffer from damage when you lay the boards. Don’t make the slots too deep though, an inch is all you need.
Pipes
There will probably be water pipes going to and from the header tank. I advise you to move the tank if it is in the way, and reroute the pipes.
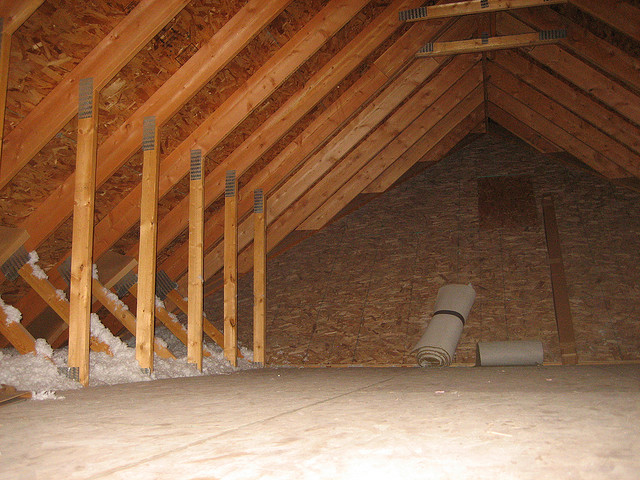
Insulation
Make sure there is adequate insulation between the joists. It should stand slightly higher than the timber so that the boards will compress it slightly. If you squash the insulation too much, it will lose its thermal properties.
The Flooring
Visit your local timber merchant and buy some sheets of tongue and groove chipboard. Remember that it will have to fit through the loft hatch, so don’t buy huge sheets. They will sell loft boards, usually three in a pack, for just this purpose.
Start at one end of the loft and lie the first board in place. You cannot nail the boards to the joists because the vibrations will damage the ceilings. Drill the boards carefully and, ensuring there are no cables or pipes below, use screws to fix it down. You will probably have to countersink the holes too.
Introduce the second board onto the end of the first one and fix it down in the same way. When you come to the end of the run, cut the final board to length. Use the leftover board to start the next run. You must always stagger the joints so that the ends of the boards don’t align with the ones you put down previously. Continue working this way until the floor is complete.
One thing we haven’t mentioned is that you must provide plenty of light up there so that you can work safely. It is probably best to use an electrician to install a permanent fitting.
I think you will agree; this project is time and money well spent. You now have an extra room for little cost. I think that is a top deal!


0 komentar:
Posting Komentar